
As what’s arguably the hardest-working component of a bicycle, the humble bicycle chain is put through hell with each pedal stroke. Every single link in a chain has six different parts: inner and outer plates, a roller bushing, and a connecting pin. So for every minute of pedaling, there are approximately 44,000 chain pieces in motion. That’s a whole lot of sliding friction and surfaces to wear!
As a chain wears, friction in the drivetrain will increase, the durable outer coatings are worn away – which only further accelerates wear – and your shifting will get sloppier. However, most critically, that chain wear impacts the other drivetrain components it touches, too.
Chain wear has always been a factor in ongoing maintenance, but today, many modern bikes are running drivetrain components that are vastly more expensive than ever before. Replacing a chain before it causes wear to the cassette and chainrings is often a more economical way to own a bike. However, modern chains have introduced modern technical nuance, and so if you’re still running the same chain wear checker from a decade ago, then chances are you’re missing a trick or two.
In this edition of Threaded, I aim to return to a topic that always raises questions: chain wear. Whether it's a "too long, didn't read" or just an easy shortlist, here are some key takeaways of this article:
- Replace the chain sooner than later in an expensive drivetrain. The old number was .75% elongation from a new chain, but that number is now far nearer to .5% (or even less in some cases) to ensure the cassette and chainrings can be re-used.
- Chain wear is progressive, not linear. If a chain is starting to show signs of wear, don’t ignore it.
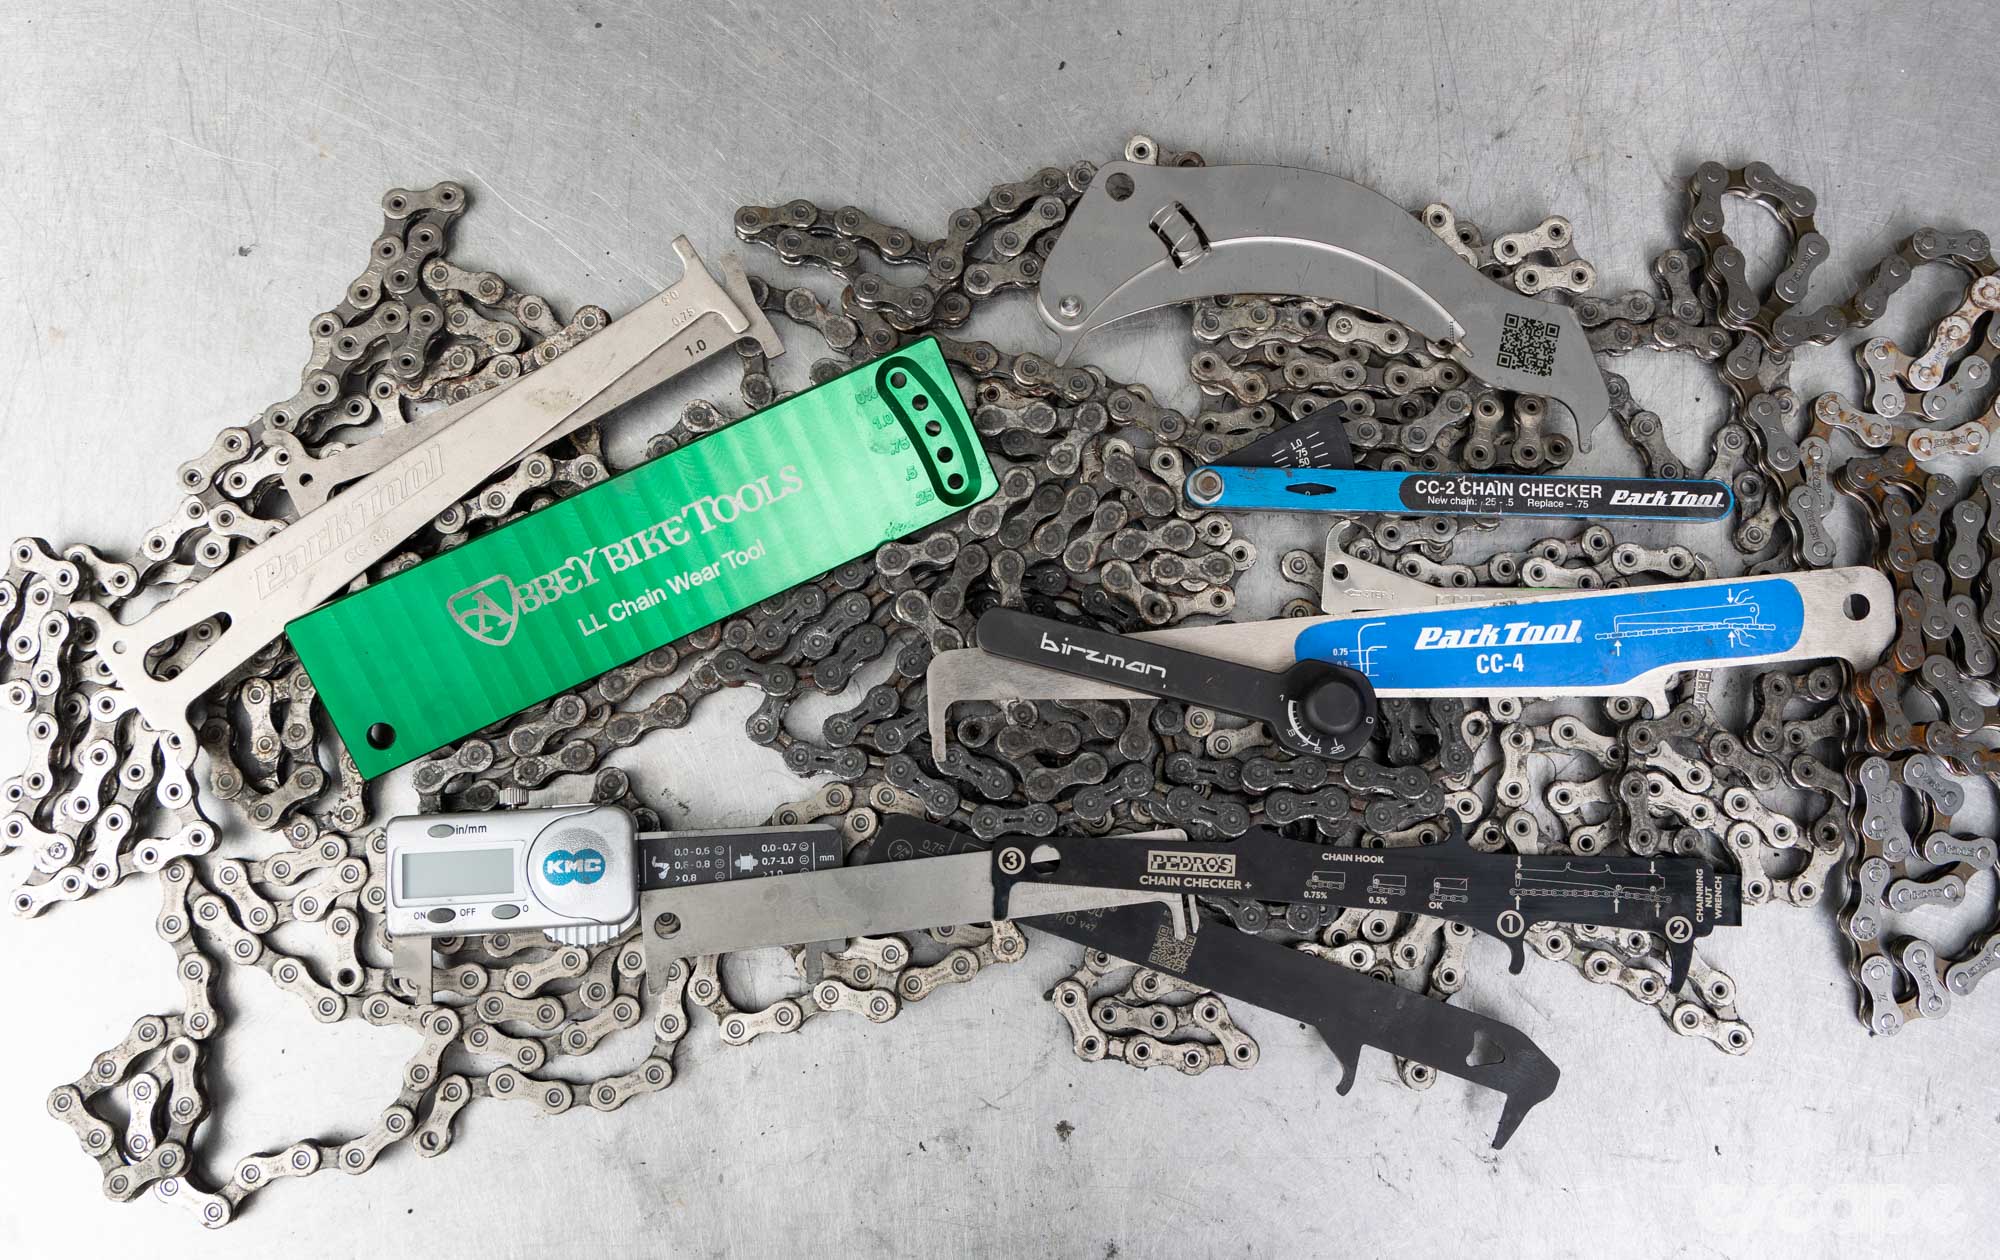
- Not all chains have the same roller size or rate of wear, leaving traditional two-prong chain tools to give false readings. This is especially critical for those on the new SRAM 12-speed with Flat Top (or T-Type) chains.
- Drop-in tools are designed to be dropped into place with nothing more than gravity. Do not force the tool into the link.
- Chain slack, chain wax, and/or grit can all mask wear. Tension the chain when measuring it. Don’t measure a freshly waxed chain. And be sceptical if a disgustingly gritty/dirty chain measures as not worn.
- Chains rarely wear evenly. It’s good practice to measure a chain in at least three spots. Avoid measuring at the quick link, which is typically harder against pin wear.
- If you just want one chain wear tool, it's hard to go past the Park Tool CC-4 (now 4.2) or Abbey Bike Tools LL.
Chain wear 101
Look at your bicycle’s chain and note the path it follows. Each link follows the radius of the chainring, then onto the cassette, then through the derailleur, and back. With each articulation of a chain link, the riveted pin remains static, with the same surfaces repeatedly seeing friction. Similarly, the roller is largely held static when under load with a cog tooth.

A new chain should measure exactly half an inch (12.7 mm) between each pin, this is known as the chain pitch. As the inner plates articulate around the pin, the pin is worn thinner, and the inside bores of the inner links grow. This wear leads to play between the pieces, and when the chain is pulled under tension, its length grows. This is elongation wear, commonly called 'chain stretch’ '- even though the metal itself does not (measurably) stretch.
As this length increases, the chain is no longer matched to the tooth profiles of the cogs/rings, and so it’ll roll higher on the tooth, accelerating cog wear until it eventually just skips over the top. It’s this wear and change of a chain’s pitch that causes the “hooked” shaping in worn cogs.

Such wear on the tooth profiles means that a new chain will no longer mesh with the base of each tooth, and rather sit high and out of sync where it’ll at best cause unwanted noise, and worse, will dangerously skip when you apply power. By contrast, if you replace a chain before its pitch greatly increases, you can avoid significant wear on the cassette and chainrings, and (likely) re-use them with a fresh chain.
Meanwhile, that same wear of the pin and inner links causes lateral slop. This lateral wear means the chain is effectively more floppy when you shift gear, and as a result, the shifting quality suffers.
Did we do a good job with this story?